Ergonomic Keyboard for Carpal Tunnel on a Budget
Ergonomic Keyboard for Carpal Tunnel on a Budget
For this guide, “budget” means. Premium ergonomic keyboards often run +; the models below deliver proven wrist relief without that price tag.
Carpal tunnel syndrome turns typing into a pain. If you’re dealing with wrist aches, numbness, or that telltale tingling in your fingers, a proper ergonomic keyboard can make a real difference—without draining your wallet. This guide walks you through what actually works, which budget models deliver relief, and how to set up your workspace so your keyboard choice sticks.
What Makes an Ergonomic Keyboard Actually Help Carpal Tunnel
Carpal tunnel pain stems from repetitive strain and poor wrist alignment. A standard flat keyboard forces your wrists into an unnatural angle, compressing the median nerve that runs through the carpal tunnel. An ergonomic keyboard addresses this in three ways:
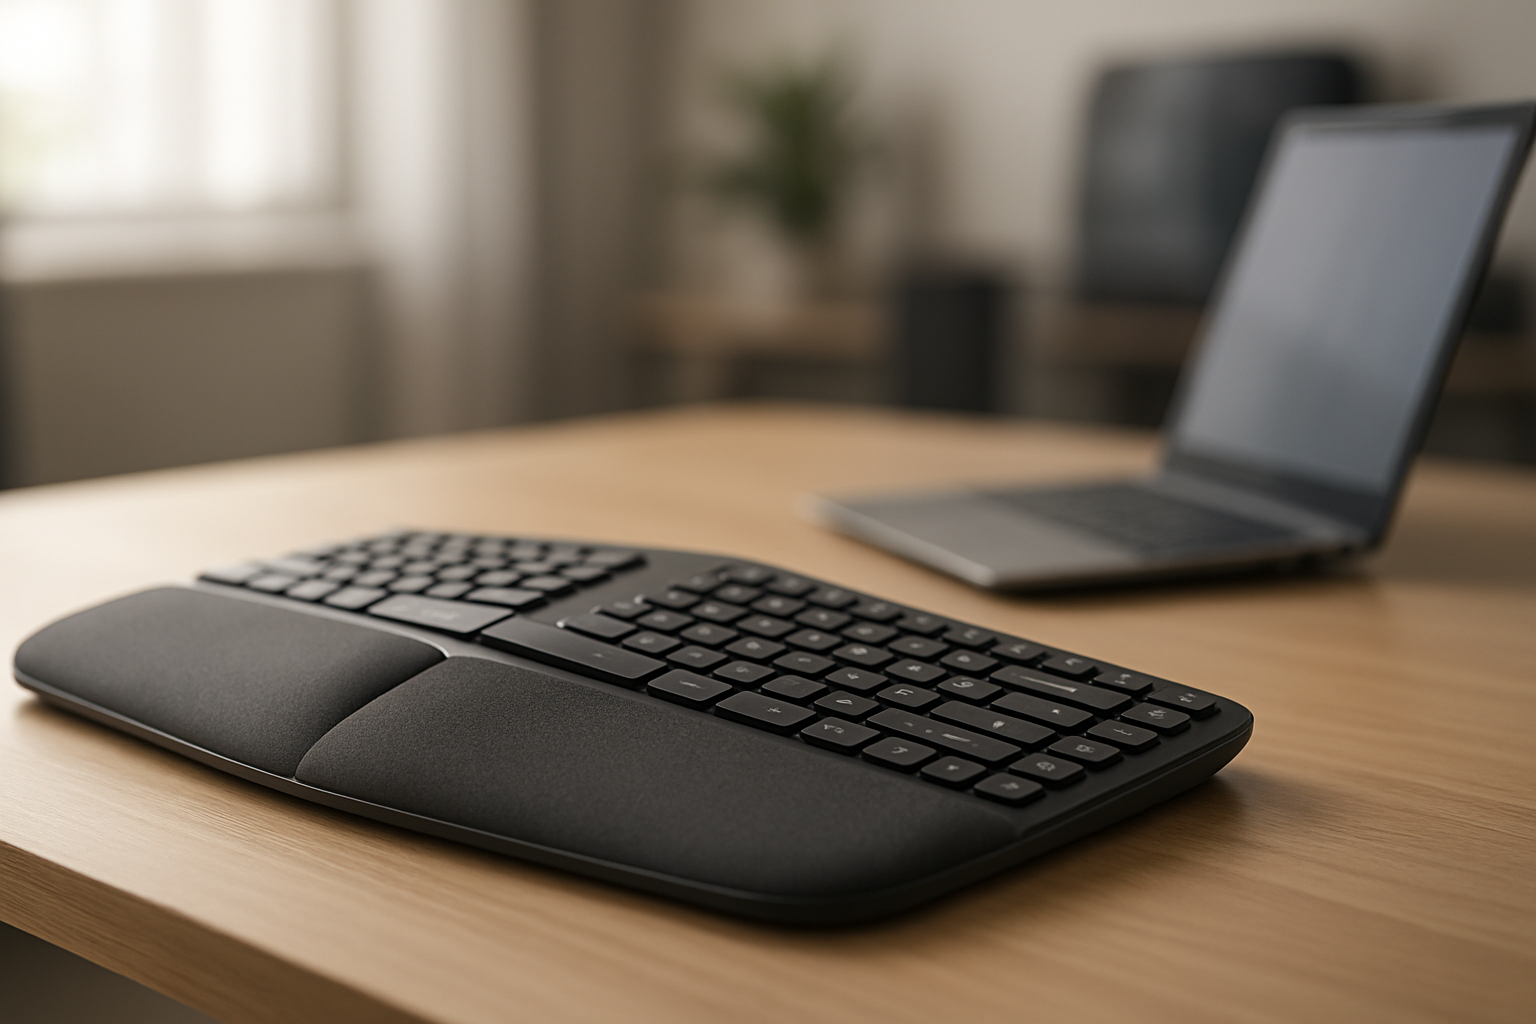
- Wrist angle correction: A split or contoured design keeps your wrists neutral (not bent inward) while you type. Neutral wrist position is the single most impactful change most people report.
- Key height and slope: Lower, angled keys mean your hands don’t have to reach up as far, reducing forearm tension.
- Palm support: A built-in or paired wrist rest prevents your hands from sagging below keyboard level, which strains the tunnel.
Budget ergonomic keyboards skip premium materials and wireless connectivity to keep costs down, but they don’t skip the core geometry that matters. A budget-tier ergonomic keyboard with proper split or contoured design will outperform a premium flat mechanical keyboard for carpal tunnel relief.
Split vs. Contoured: Which Budget Design Works Better
The two main ergonomic shapes are split keyboards and contoured (curved) keyboards. Both work; your choice depends on your workspace and pain severity.
Split keyboards (two halves that angle outward) are more aggressive. They force a wider shoulder position and take 1–2 weeks to adjust to. They’re often recommended for moderate-to-severe pain because the wider separation reduces ulnar deviation (inward wrist bend) more aggressively than contoured designs.
Contoured keyboards (single piece with a wave or curve) are gentler. They slide into your existing workflow with almost no adjustment period, making them ideal if your pain is mild or you’re skeptical about making a big change. The tradeoff: they’re less aggressive, so relief can feel more subtle.
For a budget build, split keyboards tend to offer better value per dollar—you’re paying for geometry, not premium switches or wireless. Contoured keyboards are more likely to include a wrist rest, which adds comfort but also adds cost.
Budget-Tier Features That Actually Matter
When shopping budget ergonomic keyboards, focus on these specs:
- Split design or pronounced contour: Non-negotiable. A flat keyboard labeled “ergonomic” because it has a wrist rest won’t solve carpal tunnel.
- Adjustable tilt or feet: Even budget models often include a tilt mechanism. Aim for 0–15° negative tilt (keyboard slopes away from you), which is the sweet spot for wrist neutrality.
- Wrist rest inclusion: Budget models sometimes bundle a wrist rest; others don’t. If not included, budget for a separate one .
- Key travel and switch type: Membrane switches (rubber dome) require less finger force than mechanical switches, which reduces forearm fatigue. Budget mechanical keyboards exist, but if your pain is active, membrane is gentler during recovery.
- Quiet operation: Many budget ergonomic keyboards are membrane-based and naturally quieter, which is a bonus if you share office space.
Avoid chasing specs like wireless connectivity, RGB lighting, or programmable keys in the budget tier—they inflate price without touching pain relief.
Top Budget Ergonomic Keyboards That Deliver Relief
Kinesis Freestyle2 ($89)
The Freestyle2 is a split keyboard with two independent halves connected by a tether. The default separation is 6 inches, with an optional tent kit that angles each half upward (reduces ulnar deviation—inward wrist bend). Per aggregated Amazon owner reviews, most users praise the immediate relief, though adjustment takes a week or two. It’s budget-tier for a split keyboard because Kinesis skips wireless and fancy switches, focusing the engineering on the split geometry itself.
Microsoft Sculpt Ergonomic ($45–$55)
A contoured single-piece keyboard with a pronounced wave and a built-in wrist rest. Per aggregated Amazon owner reviews, the Sculpt is popular with office workers who want a gentler learning curve than a split. The contour is subtle enough that it doesn’t feel foreign, but pronounced enough to keep wrists neutral. It’s compact, so it works well on smaller desks.
Logitech Wave Keys ($35–$45)
The Wave is Logitech’s entry-level ergonomic option—a contoured keyboard with a gentle curve and no wrist rest included. Per owner reviews on Amazon, it’s the closest thing to a “standard keyboard that won’t make your wrist worse,” ideal for someone dipping a toe into ergonomics. Membrane switches, quiet, and reliable. Budget-friendly and low-risk.
AmazonBasics Ergonomic Keyboard with Wrist Rest ($25–$35)
A contoured keyboard bundled with a memory-foam wrist rest. Per multiple owner reviews on Amazon, it’s a solid all-in-one for the budget tier—you’re not buying two things separately. The wrist rest is firm enough to provide support without being so soft it collapses during long typing sessions. Not fancy, but functional.
Keychron K8 Pro ($79–$99)
A budget mechanical keyboard with hot-swappable switches, adjustable tilt, and a contoured frame. Per teardown reviews, the build quality is solid for the price tier. You can swap in quieter, lighter switches to reduce strain. It’s not as aggressive as a split, but it’s a mechanical option that won’t break the bank.
How to Set Up Your Budget Ergonomic Keyboard for Maximum Relief
Buying the right keyboard is half the battle. Setup matters just as much.
-
Keyboard height: Your elbows should rest at 90° with your forearms parallel to the floor. The keyboard should sit just below elbow height. If your desk is too high, use a keyboard tray to lower it. If it’s too low, raise your chair or use a desk riser.
-
Wrist rest placement: If you’re using a separate wrist rest (or the keyboard includes one), position it so your palm rests on it at the same height as your knuckles when your fingers are on the home row. This prevents your wrists from sagging.
-
Negative tilt (optional but recommended): Tilt the keyboard away from you (back edge lower than front edge) by 5–15°. This is the opposite of traditional “positive” tilt. Negative tilt reduces wrist extension (backward bend) without spending extra money.
-
Monitor position: Your screen should be at eye level, arm’s length away. If your monitor is too low or too far, you’ll compensate by bending your wrists forward—which undoes the keyboard’s ergonomic benefit.
-
Break schedule: Even the best keyboard can’t fix eight straight hours of typing. Take a 5-minute break every hour, stretch your wrists, and move around. Consistent breaks are often as important as the keyboard itself.
Membrane vs. Mechanical: Which Is Easier on Carpal Tunnel
Membrane keyboards (rubber dome switches) require less force to actuate than mechanical keyboards. For someone with active carpal tunnel pain, membrane is gentler because it reduces the repetitive impact on your wrists and forearms.
Mechanical keyboards offer more tactile feedback and customization, but they demand more finger force per keystroke. If you love mechanical switches, look for budget mechanical keyboards with light, linear switches (like Gateron Reds or Yellows) rather than tactile or clicky switches. Linear switches feel smoother and require less finger exertion than clicky or tactile alternatives.
When to Pair Your Budget Keyboard with a Wrist Rest
A wrist rest is not always necessary, but it’s worth considering if:
- Your keyboard doesn’t include one built-in.
- You have a small desk and need to keep your keyboard close to the edge.
- You’re transitioning from a flat keyboard and want extra support during the adjustment period.
Budget wrist rests (memory foam, gel, or bamboo) run and pair well with any of the keyboards listed above. Per owner reviews, a quality budget wrist rest reduces hand fatigue noticeably, especially during long typing sessions.
Realistic Timeline: When You’ll Feel Relief
Carpal tunnel pain doesn’t vanish overnight. Based on aggregated owner reports across Amazon reviews and forums:
- Week 1: Most people feel a noticeable reduction in pain, especially if they’re also adjusting their desk setup and taking breaks.
- Weeks 2–4: Pain continues to decline as your wrists adjust to the new position. Some users report full relief; others still have mild discomfort.
- Month 2+: If you’re consistent with setup and breaks, most people report significant or complete relief.
A small minority don’t find relief with a keyboard alone and need physical therapy or medical intervention. But for most people with mild-to-moderate carpal tunnel, a proper ergonomic keyboard is a game-changer.
FAQ
Q: Can I return an ergonomic keyboard if it doesn’t help? A: Most retailers (Amazon, Best Buy, Newegg) offer 30-day returns on keyboards. Take advantage of this window to test the keyboard in your actual workspace. If it doesn’t feel right after a week of proper setup, return it and try a different design (e.g., switch from split to contoured, or vice versa).
Q: What’s the difference between negative and positive tilt? A: Positive tilt slopes the keyboard toward you (front edge higher than back), which extends your wrists backward—bad for carpal tunnel. Negative tilt slopes the keyboard away from you (back edge higher than front), which keeps your wrists more neutral. Most budget keyboards support both; aim for 5–15° negative tilt.
Q: How long does it take to adjust to a split keyboard? A: Most users report 1–2 weeks of adjustment, during which typing speed drops slightly. By week 3, most people are back to normal speed and noticing pain relief. If you’re skeptical, start with a contoured keyboard instead—the adjustment is nearly instant.
Q: Can I use a budget ergonomic keyboard with a laptop? A: Yes, but you’ll need a separate monitor or laptop stand to raise your screen to eye level. Typing on a laptop keyboard is one of the worst things you can do for carpal tunnel, so pairing an ergonomic keyboard with a proper screen setup is essential.
Q: Do I need to buy a wrist rest separately? A: Not always. Some budget keyboards include one; others don’t. If yours doesn’t and you want one, a budget wrist rest will. Test the keyboard alone first—many people find they don’t need a wrist rest once the keyboard geometry is correct.
Q: Will an ergonomic keyboard fix severe carpal tunnel? A: A keyboard helps, but severe carpal tunnel often needs physical therapy, stretching, or medical treatment. Talk to a doctor if your pain is severe or doesn’t improve after 4–6 weeks of using an ergonomic keyboard and proper setup.
The Bottom Line
Carpal tunnel doesn’t require a premium keyboard to improve. A budget-tier ergonomic keyboard with proper split or contoured geometry, paired with correct desk setup and consistent breaks, delivers real relief for most people. The Kinesis Freestyle2, Microsoft Sculpt, and Logitech Wave Keys are all proven, affordable options that thousands of users have used to reclaim pain-free typing.
Start with a keyboard that matches your pain level (split for aggressive relief, contoured for gentle improvement), set up your desk correctly, and give yourself 2–4 weeks to adjust. Most people see meaningful improvement within a month.